How to build hojo-undo tools #1: Chi'ishi
/This is the first in a series of blogs I will be writing about how to build various hojo-undo training tools.
I must start by giving credit to PJ Turnbull for building all of the tools in this series - without his skills and innovation, none of this would have been possible!
We will begin with how to make a chi’ishi.
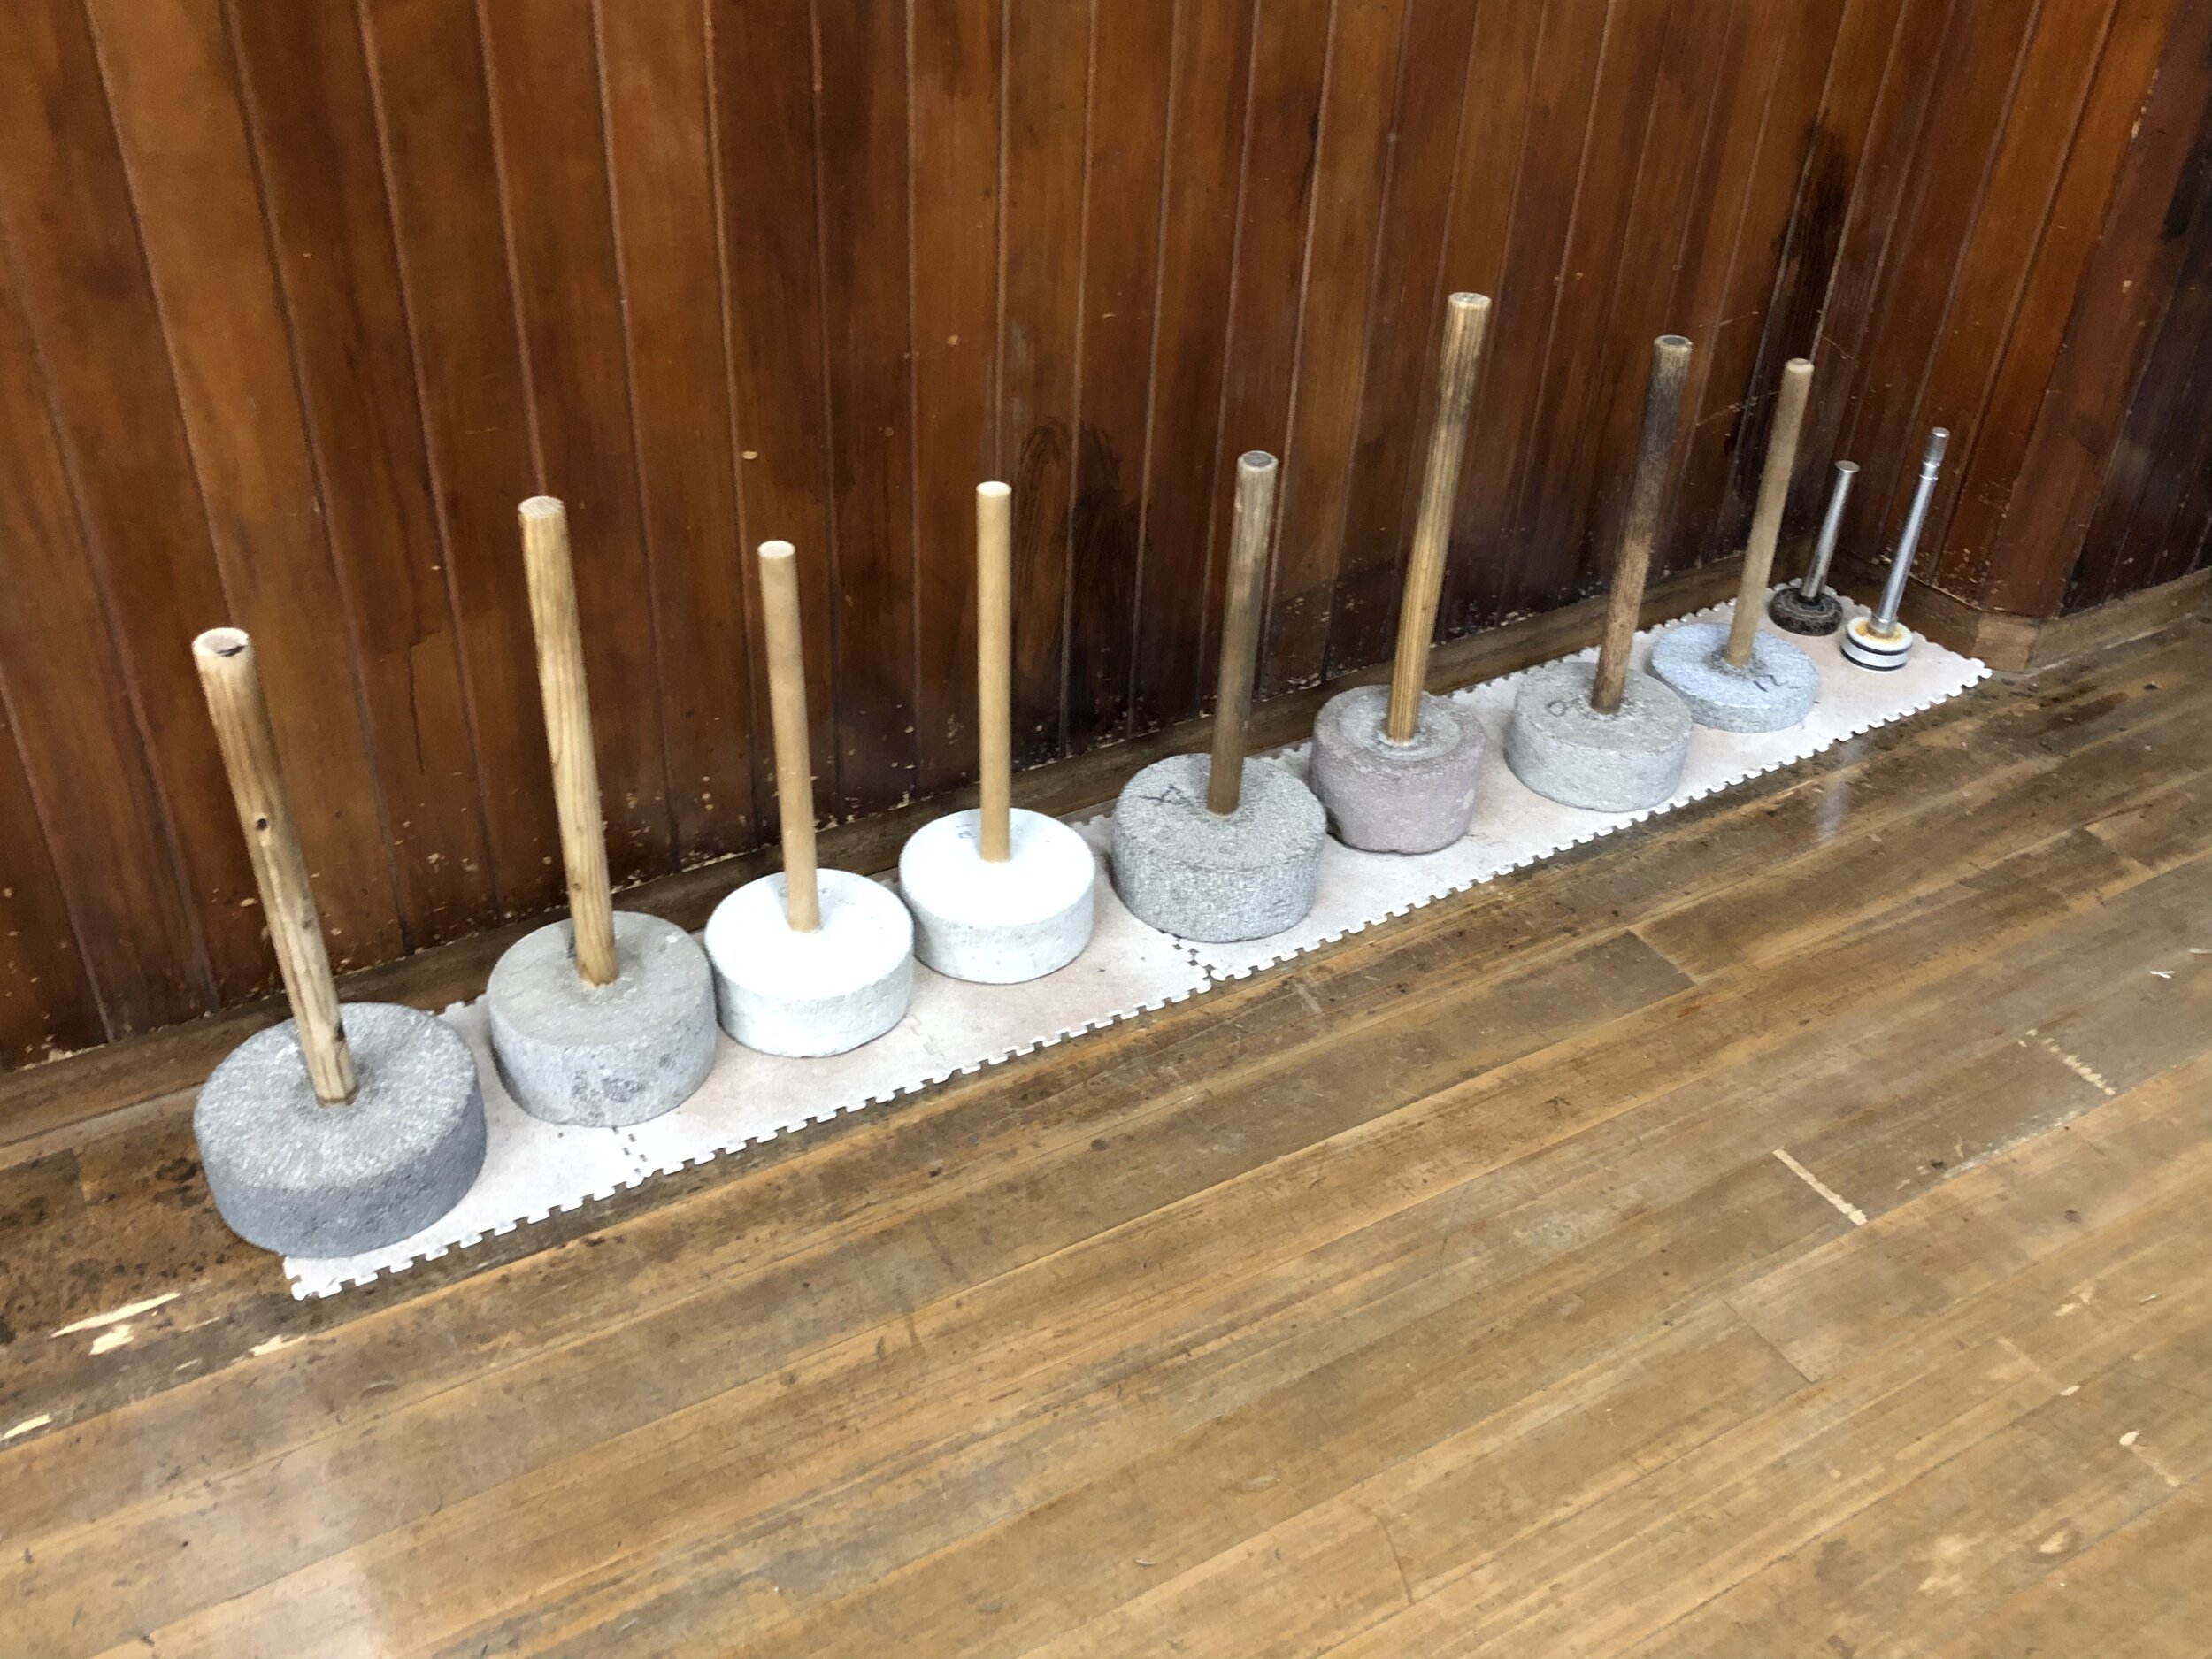
Chi’ishi (鎚石, meaning ‘stone mallet’), is a concrete weight attached to a wooden pole. The practitioner moves the chi’ishi in certain patterns to strengthen their fingers, hands, arms, shoulder, lats, and legs through squatting.


See videos here and here of Gima-sensei and Kinjo-sensei respectively using chi’ishi in the Jundokan.
I will explain, step-by-step, how to make a chi’ishi below.
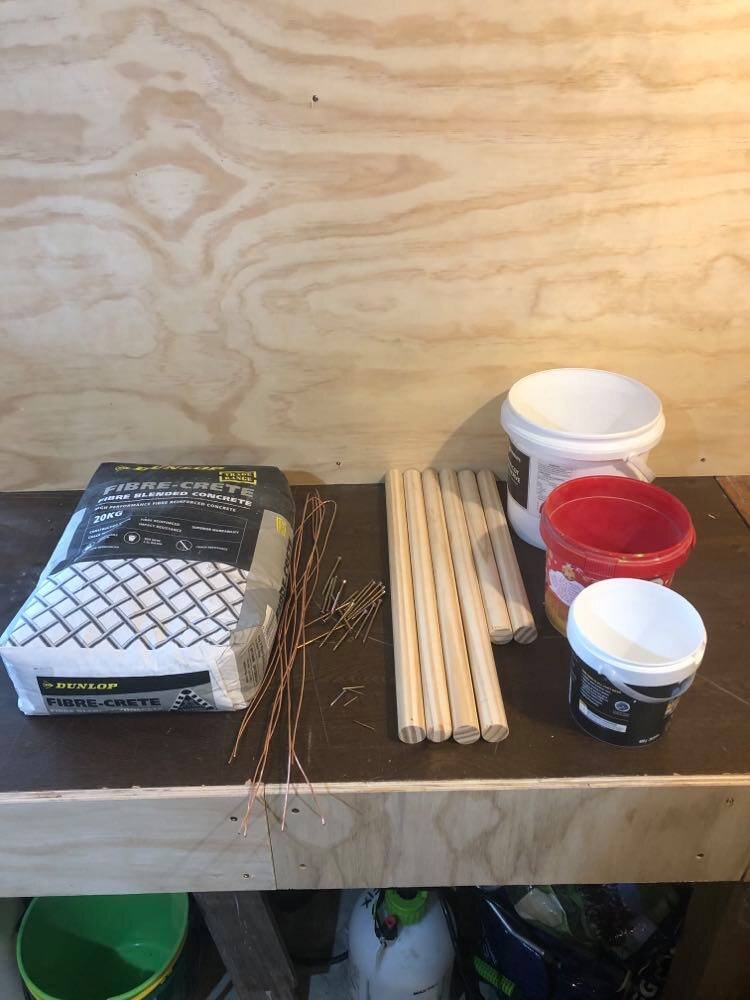
Materials:
Solid wooden pole (25–30mm thick) (broom handles work best!)
Bucket (various sizes depending on the desired weight - see below)
Cement
Screws (or nails) x 8
Wire (optional, but recommended)
Method:
① Start by deciding how long you want your handle to be (remembering that you will also have a concrete block on the end, between 50–100mm high). You will generally have a handle between 400–450mm (best to start larger, and then trim it back if necessary once complete).
② You must then decide how thick you want the concrete block on your chi’ishi to be. The general guide I have from my own experience is:
65mmH x 115mmW = 1.5kg
90mmH x 140mmW = 2.5kg
80mmH x 180mmW = 4kg
45mmH x 255mmW = 5kg
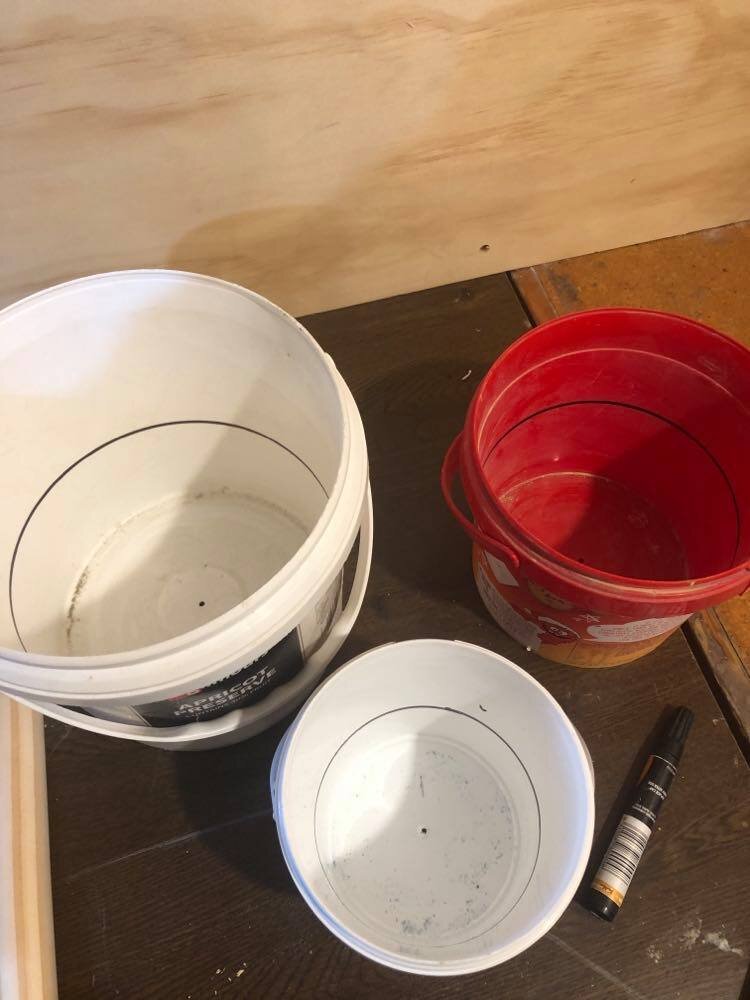
③ Once decided, measure out and draw a line on the inside of your bucket like so.
④ Measure out and draw the same line at the end of one of your wooden poles.
⑤ In the space between this line and the end of your pole, insert the screws (or nails) at random angles and intervals, which will be used to ensure the concrete stays on safely.
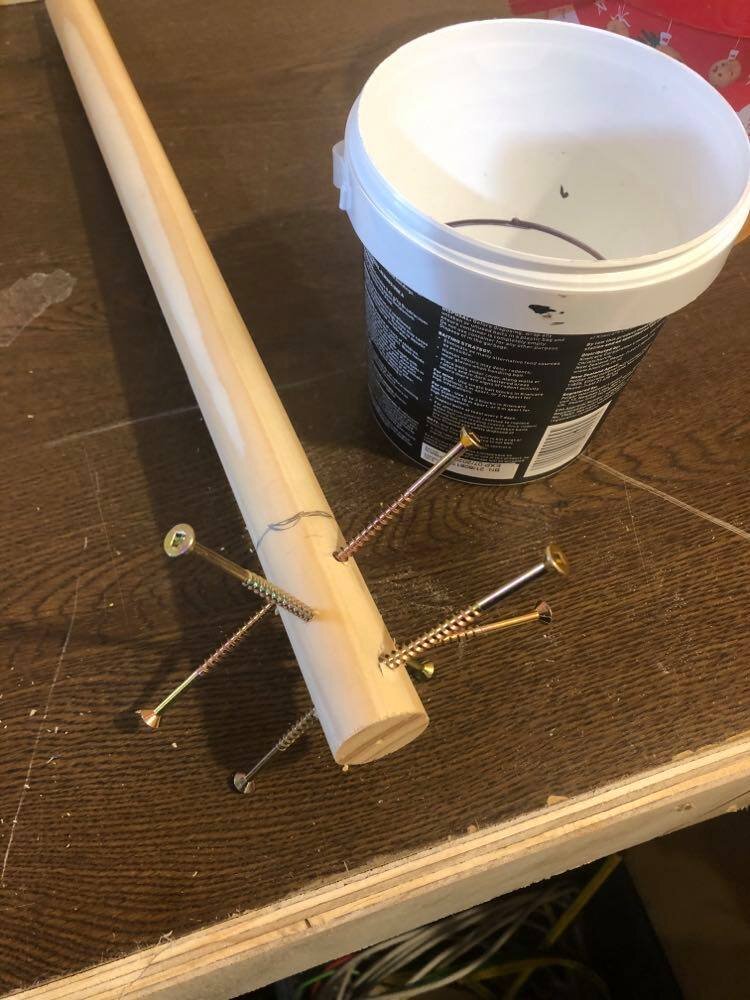
⑥ Check to ensure that the screws are in far enough so that they will still fit inside the bucket below your line, and will not be touching the sides.
⑦ For extra stability, tangle some wire around the screws like so:
⑧ Add a small hole in the middle of the bottom of the pole, and insert a screw into the bottom of the bucket like so:


This is to hold the stick off of the bottom of the bucket so that the concrete block can form all the way around. The screw will later be removed.
⑨ Mix the concrete according to the instructions provided on the bag, and pour into the bucket up to the line you decided in step ①. Make sure your pole is straight when you do so.
⑩ Leave to dry overnight (24–48 hours).
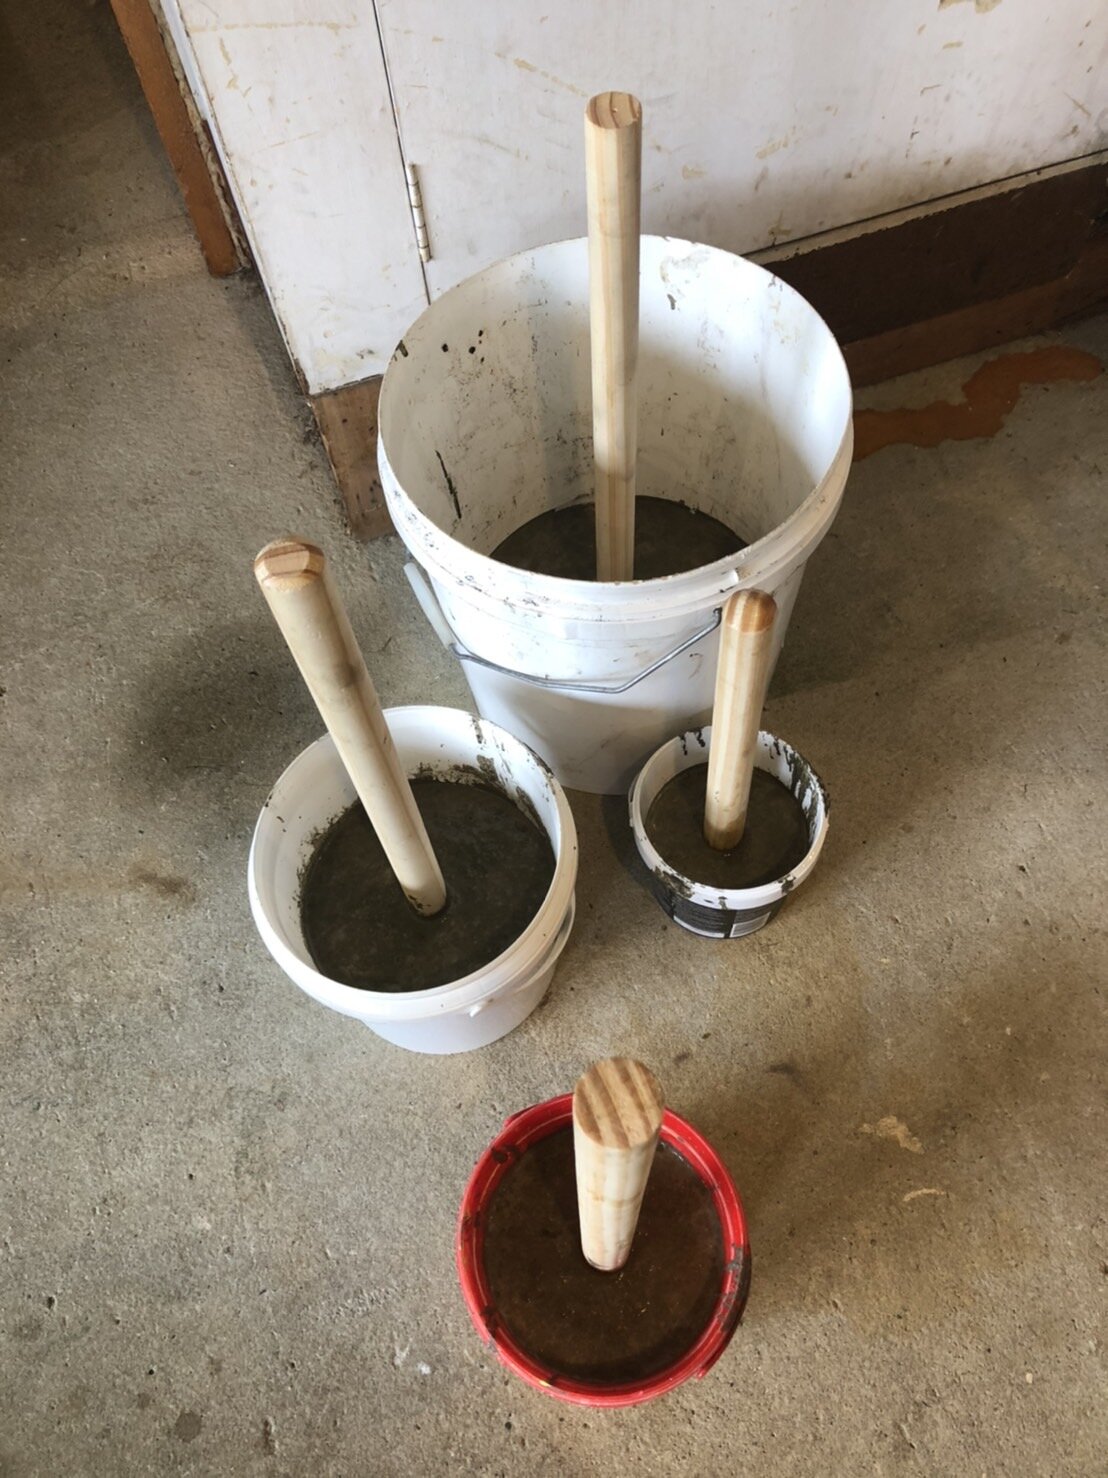
⑪ Remove the chi’ishi from the bucket and allow to further dry in the open air. Also smooth off the rough edges.

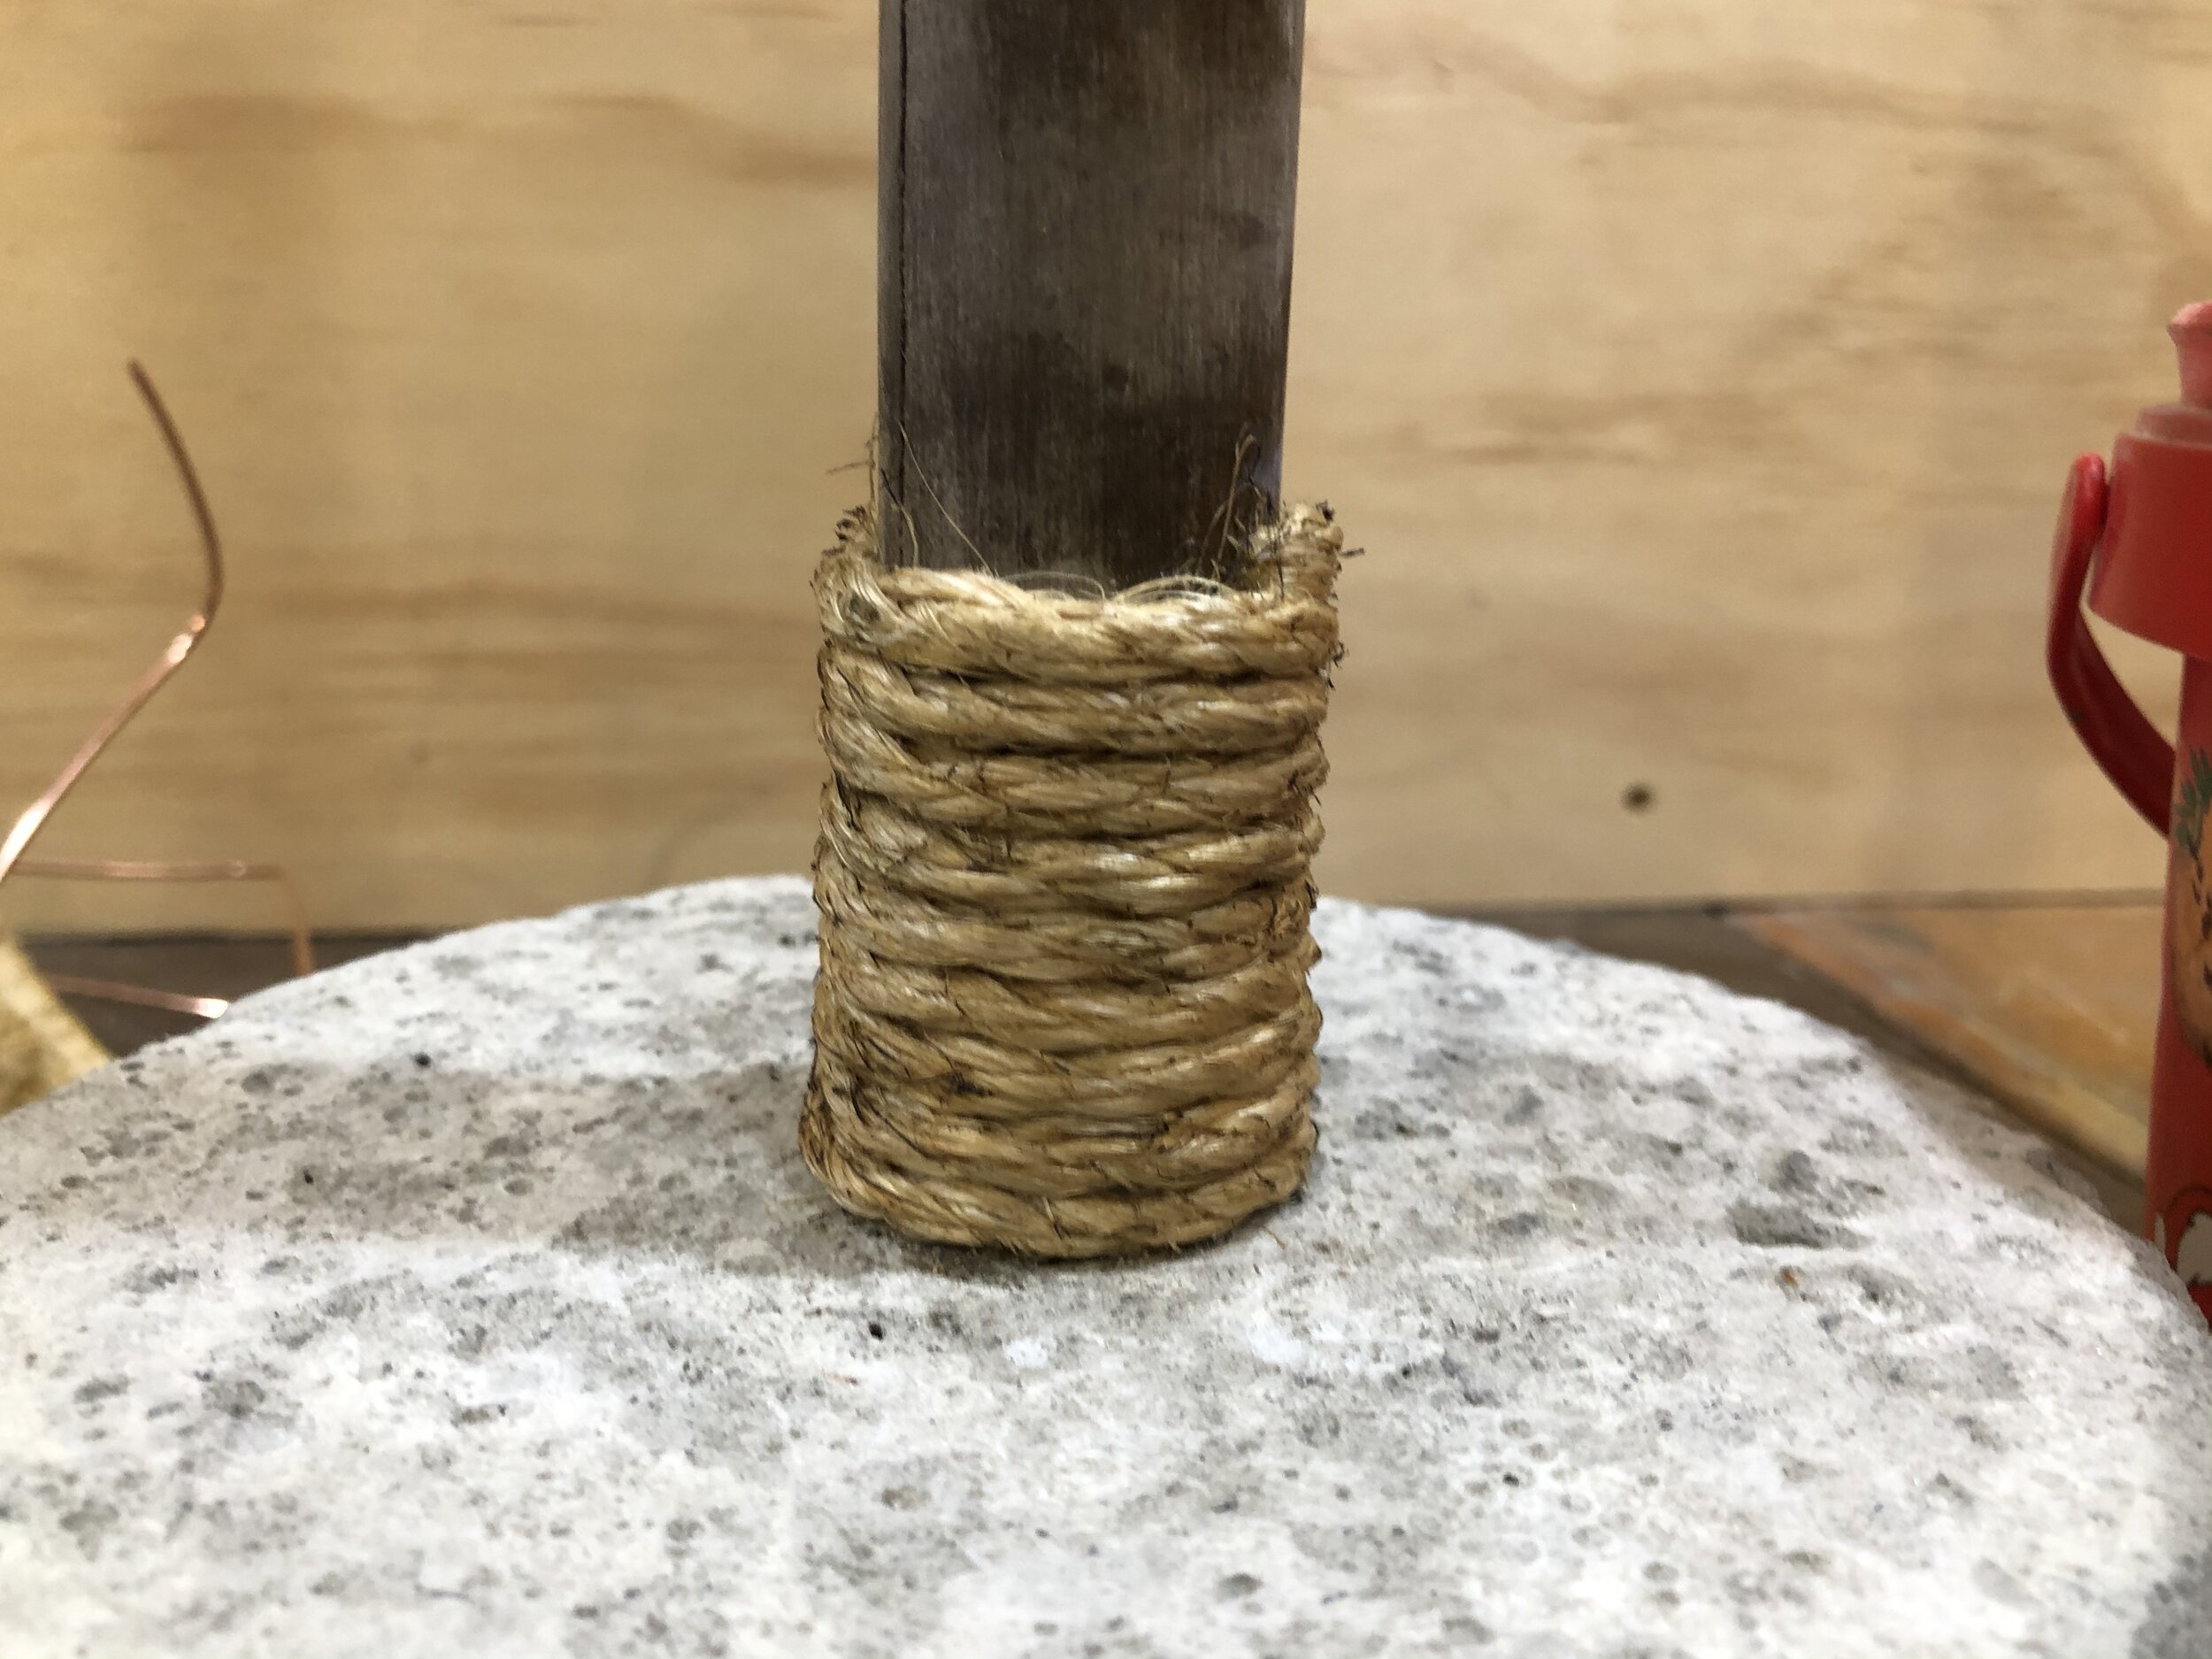
⑫ For an added (optional) aesthetic touch, place some rope at the base of the pole where it meets the concrete block, and hold it in place with glue or silicone.
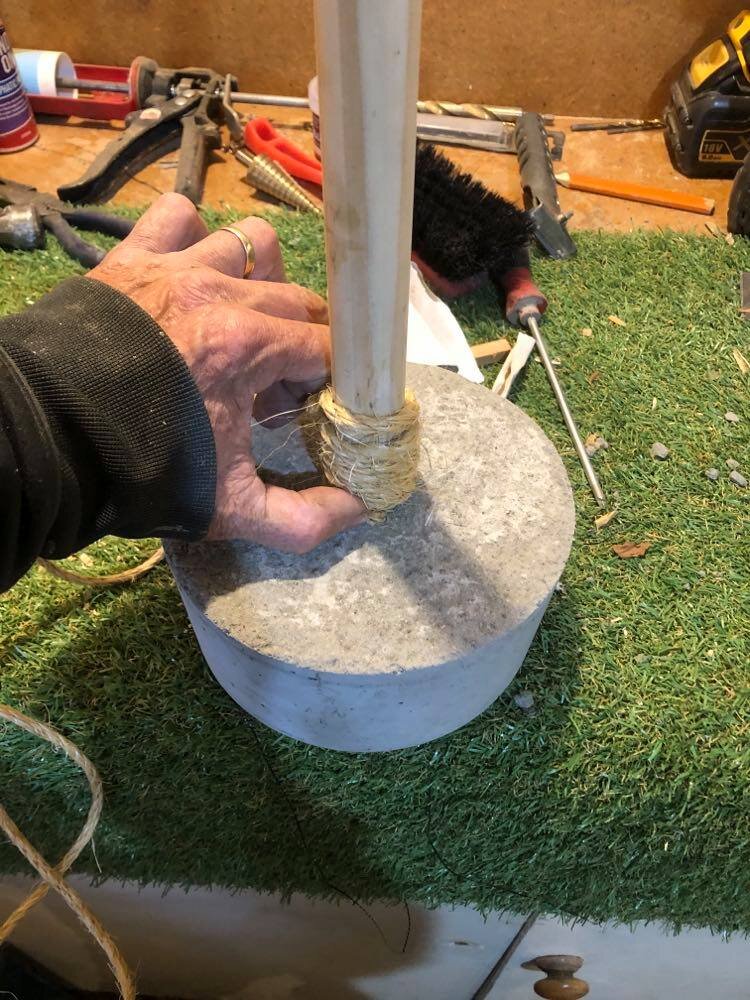
⑬ Run a blow-torch over the rope to remove any straggly pieces for neatness.

⑭ For the safety of your floor, you may wish to attach a rubber or foam pad to the bottom of your chi’ishi like so:


⑮ Start training.
Remember: Different size buckets will result in different size and therefore different weight chi’ishi, so it may take some playing around to find the size which fits you best.
For smaller chi’ishi, use a shorter pole (around 300mm long) to maintain a good concrete:stick ratio.