How to build hojo-undo tools #4: Tan
/This is the fourth in a series of blogs about how to build hojo-undo training tools (you can find the first three here: chi’ishi, sashi-ishi, ishi-sashi).
Once again, I must start by giving credit to PJ Turnbull for building all of the tools in this series - without his skills and innovation, none of this would have been possible.
This time we will look at how to make a tan.
The tan (担, meaning ‘to shoulder’ or ‘to carry on one’s back’) is a barbell-like tool, consisting of a wooden (or sometimes metal) handle with stone (or metal) weights on both ends. A tan is used to build strength in one’s arms, shoulders, legs, etc.


A video of Kinjo-sensei and Gima-sensei using the Tan can be found here, as well as videos of Jundokan members using it here and here.
I will explain how to make a tan below.
Materials:
Solid wooden pole (1400mm long x 35mm thick)
Small piece of wooden pole (75mm long x 35mm thick)
Concrete
Round bucket (approximately 270mm in diameter)
Wooden peg (70mm long) x2
Rope
Method:
① Start by cutting off a small piece your solid wooden pole approximately 75mm long.
② Place this in the centre of your bucket, and screw it in place from the underside. This will be used to make the hole in your concrete weight through which your pole will be inserted.
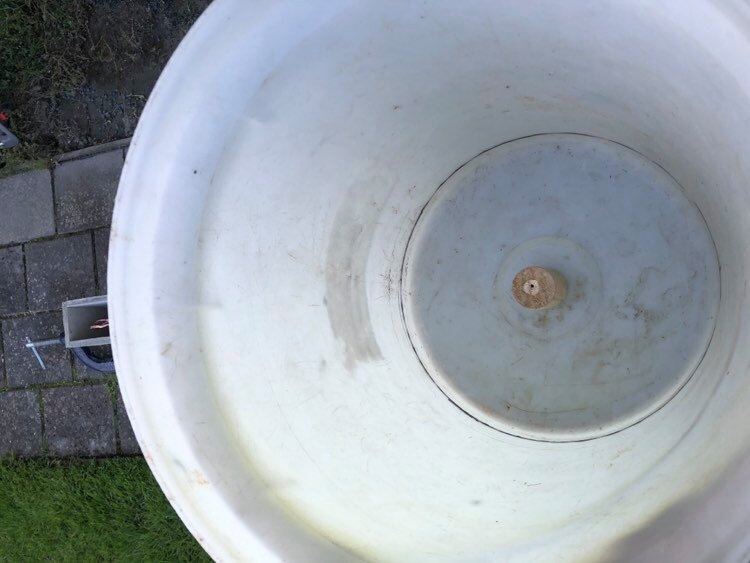
Note: it is best to grease the block with Vaseline to ensure it is easier to pop out later.
③ Mix the concrete according to the instructions on the bag, and fill the bucket up to the top of the wooden piece you have screwed in place (75mm high). If possible, it is best if you can use a bucket with straight walls to ensure a straight-edged weight is produced, although this is not necessary.
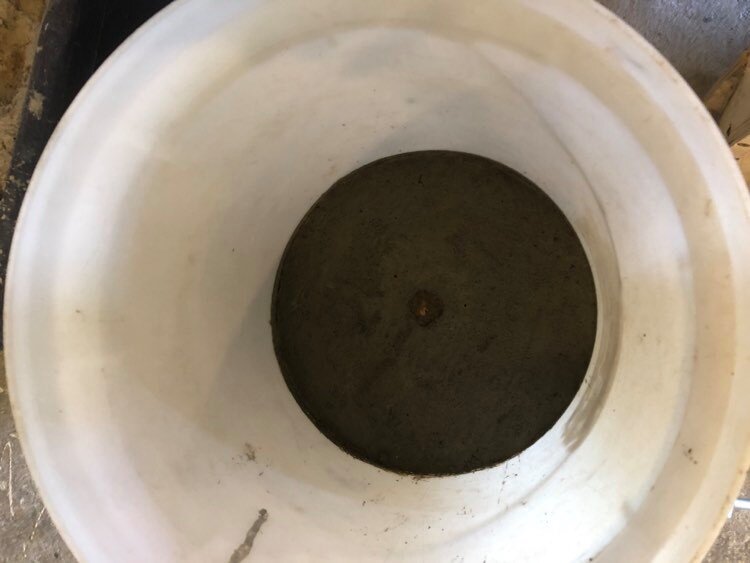
④ Allow to dry thoroughly (48 hours).
⑤ Unscrew the wooden piece from the bucket and take the concrete block out. It is worth allowing it to dry outside of the bucket for a further 24 hours before popping the wooden piece out to create the hole through which the pole will be inserted.

Note: When knocking out the block, it is better to knock it to the inside so that any rough edges can easily be covered by the rope later on. You must also be very careful and knock it out gently, as the concrete can easily break. Any gaps/holes left after the mould has been removed can be filled with plaster.
⑥ Repeat steps ② to ⑤ to produce a second concrete block.
⑦ Insert your solid wooden pole into both concrete blocks.
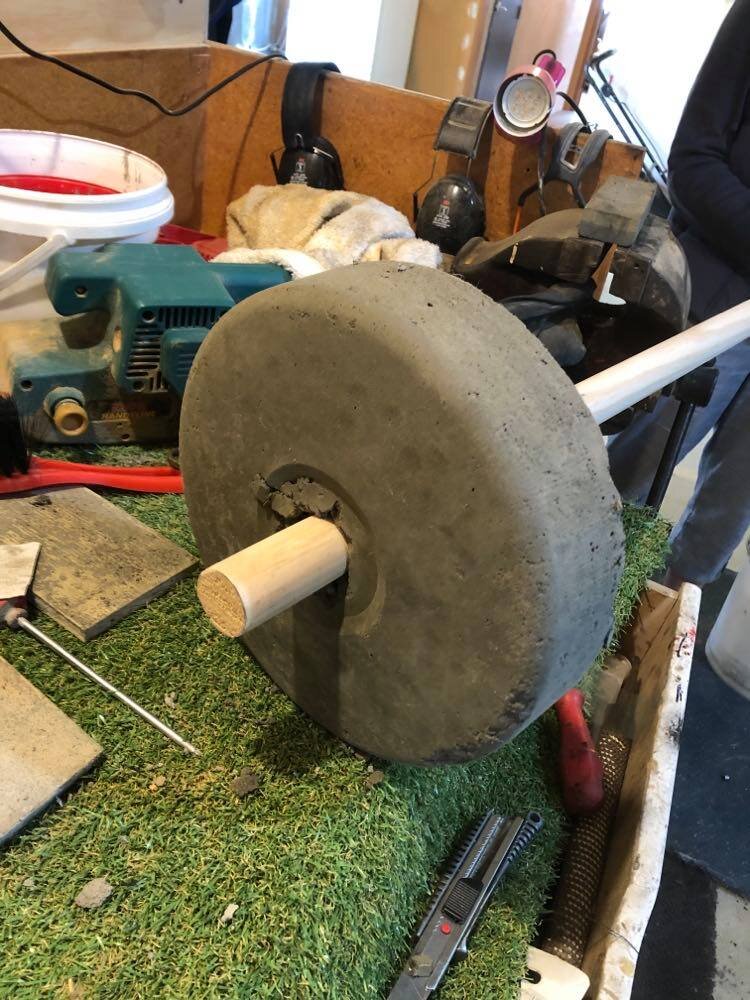
⑧ Leave a distance of approximately 35mm between each concrete block and end of the pole. This space will be used to insert the wooden peg that will hold the block in place..
⑨ Cut a hole in the wooden pole that will be used to insert the peg (approximately 6mm wide).

⑩ Shape a slightly tapered wooden peg (approximately 70mm long) to fit tightly into the hole like so:

Note: It is important that you shape the peg (through whittling and sanding) to fit the hole and not the other way around. It should fit snugly and be pushed in with a hammer to ensure it is tight.
⑪ Insert the peg into the hole to hold the concrete block in place.

⑫ Attach rope to the other side of the concrete block, and hold it in place with silicone.

This will be used to help keep the concrete block from moving up the pole.

⑬ Start training.


Kinjo-sensei and Gima-sensei showing one use of the tan in pairs